I made this card Saturday night using my new E2...woo hoo!!! Ok, first of all let me tell you that I think I am in love! No seriously, I do think I am really going to enjoy this machine. There is definitely a learning curve, considering I just took it out of the box and started using it. I think having the Imagine helps some but there were a lot of icons that I did not know how to use and things that I wanted to do that I could not quite figure out. I was able to complete my project but I know once I read the manual and watch a few tutorials, things will go much faster. Just a matter of learning what the different icons are for.
Ok, so I used two of the preloaded carts - Just A Note and American American Alphabet. I cut the trifold card from Just A Note at 5 1/2". I then created my own layers for the inside. I added a little hand detail with the stitches and of course, blinged it up with Stickles....
I am also entering this card in the Circle Weekly Challenge which is to use "your creative Gift Card and Money Holder ideas. Using your Cricut create a gift card or money holder."
I have quickly scanned through the new cart booklets and I really like these carts. I will keep you guys posted as I play a little more. If you have an E2, leave me a comment letting me know so I can definitely check out what your doing with your E2 as well.
Would love to hear what you think, so leave me a comment.
Happy Monday....
Nicole T.
Showing posts with label Birthday. Show all posts
Monday, May 2, 2011
Sunday, November 14, 2010
Par-fect Birthday Card
Good Morning Everyone,
I wanted to share a quick card that I made for my uncle. He loves to golf so I wanted to make a birthday card using a golf theme. I used Everyday Paperdolls for the man and the golf bag. The Golf cart is from Jolee's by You Dimensional Sticker (which I must say was falling apart when I went to use it). This is the first time I have used a sticker on a card but I think it added something to the card. I printed the sentiment on my computer.
Deets:
PTI Cardstock - Rustic Cream & Kraft
Patterned paper - SEI Madeline
Cardsize - 5x7
Everyday Paper Dolls cart
Vintage Distressed Ink
Golf Cart - Jolee's by You Dimensional Sticker
EK Success Punch
Recollections Black Bling
Your comments are so appreciated! Thx...
Nicole
Monday, November 1, 2010
Cupcake Birthday Card
Hello Everyone,
Just wanted to share a quick card I made for my daughter's friend for her 3rd birthday. I made a cupcake card from Once Upon A Princess.
Deets:
Once Upon A Princess cart
Paper Studio & Recollections Cardstock
Distressed Stripes & D'vine Swirl Cuttlebug
Stickles
Didn't come out as cool as I envisioned but oh well!
Nicole
Just wanted to share a quick card I made for my daughter's friend for her 3rd birthday. I made a cupcake card from Once Upon A Princess.
Deets:
Once Upon A Princess cart
Paper Studio & Recollections Cardstock
Distressed Stripes & D'vine Swirl Cuttlebug
Stickles
Didn't come out as cool as I envisioned but oh well!
Nicole
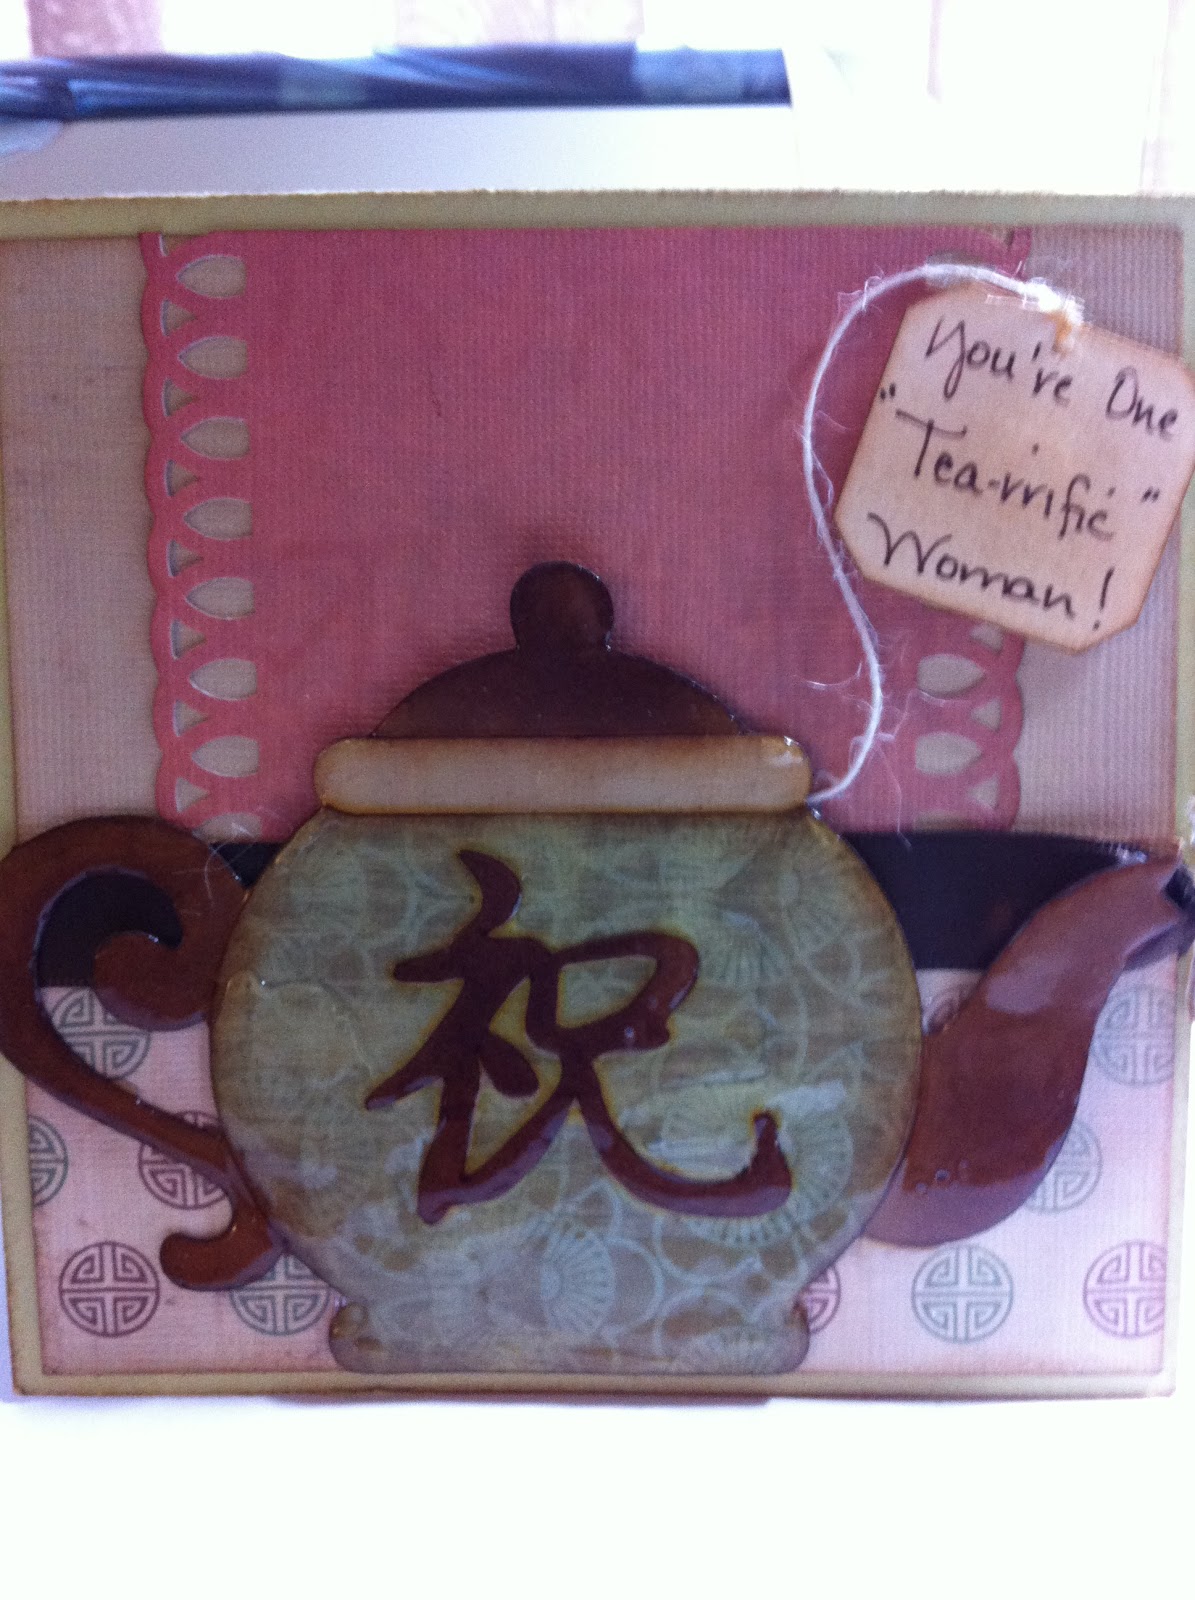
Tea Pot Card
Hi,
I made this birthday card for my cousin who loves tea.
Martha Stewart Punch
Vintage Distressed Ink
Glossy Accents
Misc. Ribbon & Hemp
I hope you like it!
Nicole
I made this birthday card for my cousin who loves tea.
Deets:
PTI Cardstock
DCWV Far East Cardstack
Pagoda CartridgeMartha Stewart Punch
Vintage Distressed Ink
Glossy Accents
Misc. Ribbon & Hemp
I hope you like it!
Nicole
Labels:
Birthday,
Glossy Accents,
Pagoda,
Vintage Distressed Ink
Tuesday, September 21, 2010
Cricut Imagine Update
Well after having to wait a couple days to play with my new Imagine, I am happy to report that my Imagine is up and running and I have not ran into any difficulties yet. It seems I am part of a fortunate few as there are lots of people who were not as lucky.
I will say that I have not been able to play with my Imagine that much and have only done a couple print/cuts because the 12x12 paper that I ordered to go with it is on backorder. I plan to run out tomorrow and buy some at Michaels or Hobby Lobby so I can play with my Imagine, see what it can do, make sure that it is really working fine and most importantly that I like it! (in case I need to send it back) LOL
I will say that what I have seen/done so far, I think I am going to really like the Imagine. Having to sit and cut different color cardstock to fit on my mat was always time consuming for me. I like that you can decide as you are selecting each thing on the Imagine and can see what it is going to look like before you print/cut.
Anyway, here is the very simple/basic cut that I did to go on top of a birthday present for one of my daughter's friends.
I also attached the card/envelope that I made for him. These were done on my expression.
![]() |
| Envelope |
Subscribe to:
Posts (Atom)